Any business these days has a website – that’s something customers expect by default. But when creating a website, it’s not enough to just say: I need one because my competitors have one. A website always fulfills a specific goal and the most straightforward way to communicate this goal is through design.
The process of web design is immensely important as it performs a number of different functions and gradually leads users towards the needed action. Hence, every business owner needs to have a very good understanding of how to approach the website design process and what to expect at every stage. This article breaks down the general process of creating a website design from scratch and explains the most important things to consider.
Stage 1: Immersion
Immersion is basically getting to know each other: the UX/UI designer and the client (and the rest of the team, of course) hold a meeting during which both parties discuss everything that is important to know about the product and about the client’s company. The designer, in turn, may share their vision or preferred method of work and see how it aligns with the client’s needs.
Think of immersion as an open session where all members brainstorm and share their ideas without any constraints. It is important to note that during this stage, the client should share his fears the same as his hopes and goals. By communicating possible fears and hesitations, the team can come up with an actionable plan on avoiding them.
It is also worth noting that during the research stage (which is our immersion, basically), a UX designer often works together with the business analyst. As well, research can be conducted by the designer or by the BA only.
There are several big aspects that are usually discussed during the immersion – let’s look at each below.
Getting to know the client
The first thing that a UX designer does is meet the client in person and get to know them. It is important to understand the client’s vision of the business, and future goals, and learn about any ideas they may have about the product.
Since any software project should be based on mutual trust and respect, a UX designer and a client need to form a solid partnership where everything can be discussed and negotiated. This is why the first meeting is important as it sets the foundation for further business relationships.
Getting to know the product
When creating a design for a product, it is crucial to understand its ins and outs in order to visualize all important aspects and communicate the product’s message to end-users through its design.
Some questions that you may ask at this stage include:
- What is the biggest unique selling point of the product? What is its core value?
- How does it stand out from the competition?
- What is the overall vibe of the product? What emotions does it evoke?
- What do users expect from this product? Does the offer match expectations?
- What is the main message that the product communicates?
Defining the project goals
Another critical thing to discuss with the client is the main goal (or goals) of the project (aka the website). A website may be focused on:
- Attracting more users to an online store;
- Increasing brand awareness and loyalty;
- Increasing user engagement;
- Increasing revenue.
There are actually more goals that a website can focus on and a website may follow more than one goal. Hence, a UX designer has to have a clear understanding of what the website is aimed to achieve in order to design it in the needed way. The understanding of a website goal will serve as a base for creating user flows and use cases which, in turn, will impact the interaction between users and the website.
Analyzing target audience
Gone are the days when business owners relied on intuition and guesswork in terms of defining the audience’s needs. These days, in order for any product to succeed, a business owner has to perform a thorough analysis of the target audience – and web design is no exception.
A UX designer needs to understand for whom he will be creating the product. By taking into consideration the needs and preferences of the target audience (aka end-users), a designer can efficiently engage them with the website, thus, fulfilling the defined business goal.
Tip: you can create a user persona that is a high-level portrait of an average user that might be interested in the product. The user persona profile is usually highly detailed and includes such aspects as demographics, hobbies, online behavior, likes and dislikes, etc.
Analyzing the competition
Lastly, during the immersion stage, the designer will be analyzing the competition in order to see what things work best on the target audience and what things cause issues. As well, the analysis of the competition is important to understand how a product may stand out and what will most probably attract users (and on the contrary, what will not).
Stage 2: Strategy
After collecting all the needed information, the UX designer, together with the team and the client, can get down to outlining the strategy.
The website design strategy is a guide that answers the most critical questions:
- What do we want to achieve and how do we want to do that?
- Who is the target audience?
- Where does the product stand in the competitive landscape?
- What value does it bring?
As you can see, the strategy summarizes all topics discussed during the immersion stage and creates a plan that the team can always refer to during the design process.
Stage 3: Concept creation
The next stage is one of the most fun and partially chaotic – it’s the stage of concept creation. Concept creation means putting all ideas together into one (or several) big ideas that will be used as a base for further web design. During the concepting, the designer tries to create a general “draft” of the product (in our case, the website) to understand how it will generally look and how users will interact with it. Here are some things that are included in the concepting stage.
Sketching main user stories
A user story is a description of a feature (action on a website) as if a user defined it. An example would be searching by keyword, one-click payment, or creating an event in a calendar.
User stories are written in a simple language and they provide just enough information for developers and designers to understand what needs to be implemented. So at the stage of concept creation, a UX designer sketches the main user stories to outline a basic user journey and see how the core website functionality would function.
Creating mood boards
Remember we talked about how a product has a certain vibe to it that has to be communicated through design? That’s where a mood board steps in.
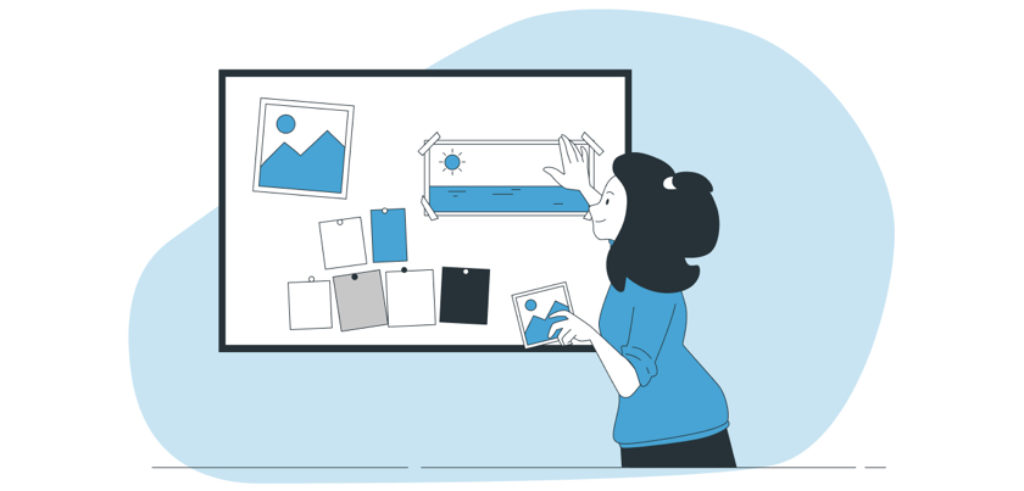
A mood board can be defined as a collection of materials that help communicate the brand’s voice, style, and language. The most important thing to note here is that a mood board is exactly what the name implies: it communicates mood or, in other words, a certain emotion that users feel when they interact with the product.
The creation of a moodboard consists of branding and assembly of the product’s visual style. A designer has to use the previously defined user persona to understand what colors, language, and imagery will evoke the needed emotion in the target audience. It is also important that the designer works in close collaboration with the copywriter since the copy is an integral part of a website design.
Stage 4: Sitemap and wireframe design
Now it’s time to add some hard numbers to the previously created drafts – we are talking about planning out the sitemap and creating website wireframes.
A sitemap is a visual representation of your website hierarchy in a form of a diagram. In other words, a sitemap displays all pages of your website and how they are linked together. By creating a sitemap, you visualize the website structure and you can see how users can navigate the website (we’ll talk more about website navigation below).
As for the wireframes, it is a visual representation of the structure and components of one website page. Let’s talk about wireframes in a bit more detail.
Start with low-fidelity wireframes
The best thing about wireframes is that you can create them however you want: by sketching on paper with a pencil or by using a specialized program. However, my advice is: always start with low-fidelity wireframes in order to save time and remain flexible until you 100% know what element will go where.
We probably need a bit of clarification here. A low-fidelity wireframe is a very simplistic visualization of a page. Such wireframes are most often created with a pen and paper, are black and white, and contain only core elements of a page. High-fidelity wireframes, on the contrary, are very detailed, colorful, and even interactive.
While you’ll need both during the website design process, it’s always a good idea to not go into too much detail from the start. At this stage, you need to visualize how each page will look without filling it with actual imagery and content.
Pay extra attention to navigation
Website navigation is one of the most tricky aspects to work on since it impacts the users’ behavior on the website, their interaction with the product, and their buying decisions. Great navigation will effortlessly lead users towards the needed conversion – but poor navigation may ruin the whole user experience and never bring visitors back.
Some of the best practices for website navigation are:
- Add a search bar and make it visible. Also, the Google UX playbook recommends using not the search icon but a search bar – in this way, it promotes more engagement and encourages visitors to use it.
- Remember about a “three-click rule”: users should be able to find the needed content in three (or less) clicks/taps. While the rule is not obligatory, it is highly recommended.
- Place familiar page elements on expected positions. That means, with an e-commerce website, users will always expect to see a cart in the upper right corner. Do not try reinventing the wheel when it comes to familiar elements.
- Try minimizing menu options – nobody wants to go through a vast list of categories. If you have too many options and need to keep them all, remember that the recommended maximum is seven.
- Keep the navigation as simple as possible!
Stage 5: Content creation
Ah, the most fun part! After outlining what your website will look like and what elements will go where, it’s time to get down to crafting the content, including both imagery and text. There are several things that some business owners tend to overlook when it comes to content creation. But don’t worry – we’ll help you sort them out.
Work with the text
Many business owners tend to overlook the importance of well-crafted copy and that’s one of the biggest mistakes when working on a software product (or any other product or service). Professionally composed text can do wonders to your clients as it’s capable of persuading them to complete conversions, take the needed action, and basically fall in love with your brand.
Text is the primary source of information for users. They won’t be able to comprehend what exact value your website brings them by simply looking at it – but they will immediately understand the value by reading about it. See the difference?
It’s important to note that text (same as imagery) does not work alone. Copy and imagery complement each other and create a holistic picture for users. Thus, when working on a web design, always assign a professional copywriter to do the job – otherwise, you’ll end up with a fabulous design and a sloppy copy.
Tip: do not leave the copy till the very end. Some clients tend to fill website wireframes with Lorem ipsum and then hurriedly create content just before the website launch. We recommend not doing that and crafting high-quality copy from the start (same as you do with images and media content). In this way, the designer will be able to see how the copy fits pages and whether any adjustments are needed.
Work with the visual style
Visual style represents the way interface elements look and by interface elements we mean buttons, fields, etc. As well, visual style embodies the elements of the brand’s identity aka colors, patterns, and logos. Sometimes, a client needs to create a brand’s identity from scratch (or redesign the existing one) – in this case, the designer takes care of it as well before getting down to creating the website’s visual style. Work on the brand identity can actually be started after stage 2 or 3 (strategy or concept creation) and go in parallel with UX tasks.
The person responsible for working with visual style is a graphic designer. However, when it comes to content creation, you may need other specialists to work on it. This leads us to the next point – media content.
Work with media content
Media content includes many forms of content, such as photos, videos, or illustrations. So in case you need media content for your website (and you will most probably need it), you’ll have to work with corresponding professionals.
For example, you might need to hire a photographer to take photos of your employees for the “About Us” section or you might want to ask an illustrator to create stellar illustrations. Just remember that all content across the website should correspond to the defined brand’s identity and be consistent in terms of colors and style.
Stage 6: Prototype creation and testing
After filling the website with the needed content, it’s finally time to get down to testing the obtained prototype. An important note here: a prototype is not the same as a wireframe. While a wireframe is usually a low (or mid) fidelity blueprint of the project, a prototype is a high-fidelity working representation of the product. That means users can interact with the prototype and actually test how it works and whether it’s convenient for use. Here are the main things that happen during the prototype creation and testing phase.
A/B testing
The A/B testing process is one of the simplest yet most efficient ways to test user experience and user preferences. The idea behind this testing is super simple: you present users with two options, A and B, and they choose the one which attracts them more.
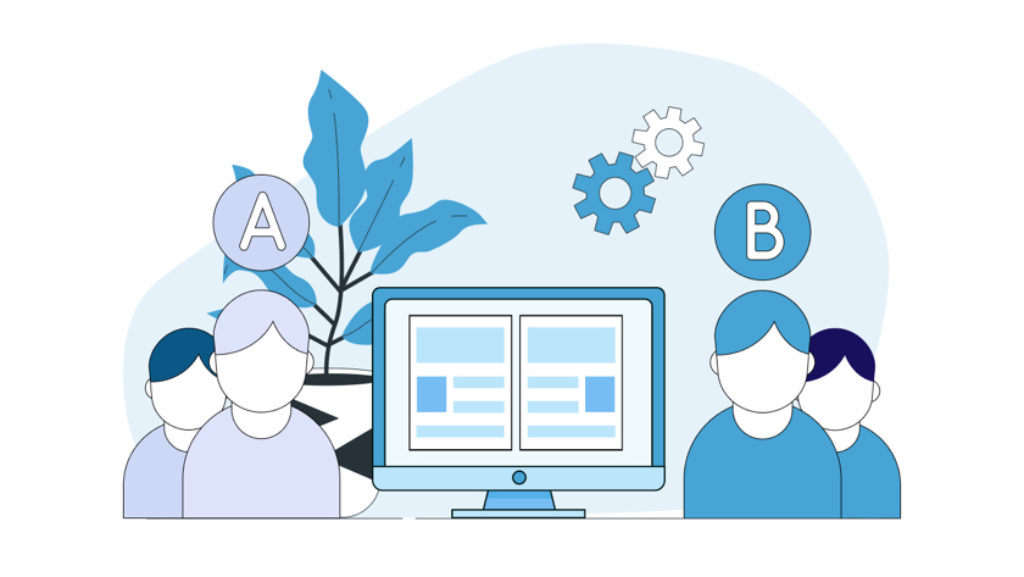
When it comes to web design A/B testing, there are plenty of options to test: from button placement to colors and navigation. Hence, you’ll need to create a detailed testing plan to make sure nothing is missed and users will be satisfied with the final result.
Usability testing
One more critical step in prototype testing is usability testing. That means you need to test the working product with real users and see whether they have any issues using it. For instance, you can test how easy a user can navigate the website, find the needed information, or complete a conversion.
Usability testing provides valuable feedback on how user-friendly your product is and what you might have missed. As well, at this stage, you can adjust the product and its functionality based on user feedback which, in turn, will save you from the need to redo the website in the future.
Check for any missed areas
When testing the product with real users, one of the most valuable insights you can obtain is whether your website has any missed areas. Such missed areas may include:
- Features that users do not use;
- Areas that users ignore;
- Areas that users can hardly navigate.
Such “blind spots” can be easily found during the testing methods described above and at this stage, you can fix the issues so the final product fully corresponds to the desired user journey.
Stage 7: Creating a design system and guidelines
This is one of the most cumbersome and complex stages of the website design process. At this stage, a UX designer together with the team creates a design system that will later be used as a guide for any further design activities.
A design system is a single source of truth that contains a set of the following deliverables:
- Brand identity: colors, fonts, images;
- Principles: brand objectives, values, and purpose;
- Best practices: accessibility, training, the definition of the UX;
- Components and patterns;
- Functional documentation;
- Technical documentation.
The design system contains all guidelines needed in order to keep the brand’s representation consistent across various products. And while the composition of this document takes time, it will bring you immense value in the future and will help resolve any arising issues or disputes.
Stage 8: Development and launch
Finally, the last stage of the website design process is actual development (with coding, of course) and further website launch. At this stage, the designer passes the mockups to developers so they can do their magic and bring design ideas to life.
It is important to closely monitor how content looks and “feels” on a real website and whether it slows the website performance down. In most cases, you’ll need to deploy a CDN (content delivery network) so your content is displayed efficiently without slowing the site down. As well, don’t forget about image compression and other best practices for website performance optimization.
Design guidance and testing
Throughout website development, the UX designer closely collaborates with the development team in order to make sure everything is realized as intended and works properly. As well, before launching the product, it is critical to continuously test the website to make sure there are no bugs or errors.
Mind that performance, security and load testing are different from the A/B and usability testing that we discussed above. At the stage of development, testing is aimed not at usability but at identifying weak areas, bugs, and reasons for poor performance.
Once testing is completed and everything is put into place, your website is ready for launch. Hooray! However, we recommend approaching the website launch with a bit of incredulity: do not expect everything to work perfectly and be ready to fix minor unexpected issues. And obviously, do not forget about website maintenance and support after the launch!
Final word
One more important thing to keep in mind when working on a website design is that a designer should always work in close conjunction with other team members, including business analysts, developers, and QA engineers. In this way, your website will not only look great but also deliver a 100% performance which, in turn, has a huge impact on user experience alongside the UX/UI part.


Comments