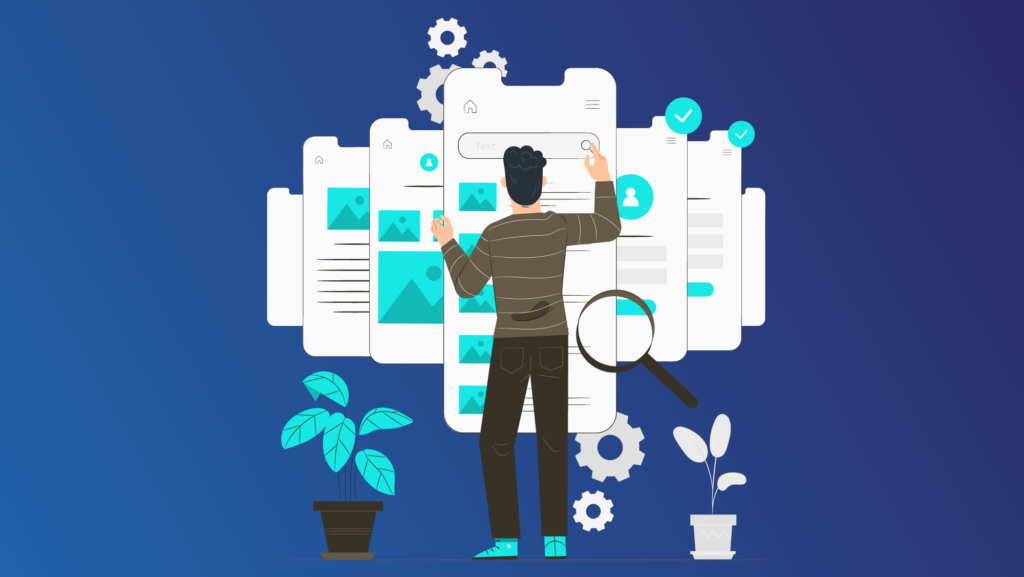
If your entrepreneurial spirit made you just out of bed surprisingly early with a ground-breaking idea for a mobile application, which you think will solve problems of millions of people, here is a short guide to help you plan your actions to get started.

Step 1. Identify the goal.
It is essential to conduct market research and validate that the app will be solving a particular problem. At this stage the target audience, competitors, potential geographies, potential monetization and other marketing analysis details can be outlined. For data collection such tools as Google Keyword Planner can be used. While you might idealize your app idea and consider it unique, you must not forget of millions of apps already available on the Appstore, Google Play and Windows markets. Such numbers possibly imply that the coverage of apps is almost absolute and you might already have tens of competitors out there. However the competitors’ apps might be positively utilized to learn from their mistakes. SWOT tool will help to bring all the outcomes of the research in one place and visualize them for easier understanding.
Step 2. Create the flow/sketches.
Now that you’ve proven that the demand for the app exists, it is time to start creating the foundation of the application interface. The most effective way is to use one of the wireframing solutions freely available on the market (e.g. Balsamiq with intuitive UI). Such tools have a predefined set of controllers in place so that users can navigate the app mockups in review mode, or create a storyboard of the app to better understand the workflow in user’s eyes. It is vital that this stage must produce as much details as possible, including well-thought navigation map. A separate document listing all features of the application will also be helpful for the developer to better evaluate the work scope.
Step 3. Think of technical aspects.
Now that you’ve detailed the idea, it makes sense to think of the technical aspects of the idea realization. Consult a developer to see whether the idea is completely feasible from its technical standpoint. It is important to think of the technical set to be used for the application backend, foresee all possible integrations, including social networks, payment gateways etc. Have you considered if the app will be cross-platform, or you prefer native approach? Did you dwell on the legal limitations, including copyright and privacy issues? Also, select the platforms to concentrate on first, and decide on the backend of the mobile application. It is just the right time to wake up your network of friends and acquaintances to find out experts in the area to get qualified help from the start regarding both frontend (prototypes & mockups) and backend stack (APIs, servers and data diagrams). Some companies provide business analysis as part of their offerings, which might be a good choice for non-IT people and those lacking experience in software development industry in general.
Step 4. Choose a developer/development company.
This step might be a bit harsh for non IT-related guys and is worth a separate educational article on the criteria of choosing a designer/developer hence the market is overcrowded with both freelancers and agencies of all types. The first thing to decide is your budget and how much time you can invest into the project yourself to control the process. If the budget is strictly limited, you might want to explore the freelance market, however it will be like looking for a needle in a haystack, with unpredictable outcomes. Freelancers tend to run several projects at a time, which will definitely affect your delivery dates. In a contrary case, when budget is not taking you back, it’s worth collaborating with an expert mobile development agency. Advantages are obvious:
- responsibility of project completion will be on a juridical entity rather than an individual, which gives you additional assurance that your budget is invested correctly;
- access to specialists covering all stages of software development cycle: mobile developers, QA engineers, project managers, UI/UX specialists;
- working with agencies might be even more cost-effective. There are several well-known outsourcing destinations, including Eastern Europe & Latin America, where you’ll get set-up communication processes and great rates.
Step 5. Setting up Appstore & Google Play developers’ accounts.
You have to get registered with these stores to get able to sell the application to general audience. Changes are minimal: $99 for Apple Developer registration and $25 for Google Play registration charged annually. Two registration options are available: for individuals and for companies. Further steps will be related to development and post-production phase.
Step 6. Keep tracking.
You must foresee integration of available analytics libraries into the apps in order to keep track of downloads, user behaviour and engagement with the app. The most popular mobile analytics tools nowadays are Flurry Analytics, Google Analytics, Localytics to choose from.
Step 7. Analyze.
Analyze the feedback collected from above-mentioned tools and use it for further application enhancements and changes in future newest versions of the application. Finally, the process of application development is not limited by the moment it’s accepted on the Appstore. It is a constant process where you have to support the app and make sure users are kept engaged with the app. But that is more on the marketing and business development strategy, which is partially even more important than preceding development. Getting to know what your customers think is the challenge.


Comments