Table of Contents
Mobile application development is both easy and complex. It’s easy because everyone is doing it and seems like there are no secrets left behind. At the same time, it’s incredibly complex since not all entrepreneurs and business owners fully understand the development process.
This article is intended to serve as a guide for both business owners who plan to launch their app and for developers who need to refresh the step-by-step process. And if you have a different opinion or want to add something that we missed out – please feel free to comment below!

Step 1: Do research and work on a strategy
As trivial as it sounds but research and preparatory work are a must and here is why. If you know your future audience and understand the strengths and weaknesses of your competition, you will be able to tailor the app correspondingly and make sure that it brings value to the users.
So what do research and preparatory work include? First, you need to study:
- Target audience: demographics, interests, online behavior. Knowledge of your target audience will help you decide on the app’s platform, functionality, design, subscription model, and other important issues.
- Competition: what are the good things about their products and what could be improved? This knowledge can help you outline the best features of your product and avoid mistakes that competitors have made.
As well, you need to outline your business goals and objectives. What will be the primary purpose of your product and what kind of value it’s supposed to bring? All these questions need to be answered in advance so you can plan the development milestones, set deadlines, and allocate budget and resources.
Step 2: Find a reliable development company
The next step would be finding an experienced development company or assembling a team of in-house developers. Having over 12 years of experience in the IT industry, we highly recommend that you opt for outsourcing.
There are several reasons why outsourcing is more beneficial than in-house development:
- Lower development costs: there are no extra costs (like vacation or sick leave pay) and the rates of outsourcing developers may be lower than the rates of your local ones.
- A higher level of expertise: outsourcing companies tend to specialize in certain areas or technologies and such strong focus makes them incredibly skillful.
- Full correspondence to the needed requirements: the team will work in accordance with a project specification and will not implement any changes unless you ask to.
- An option to assemble a perfect team of specific professionals: outsourcing allows you to hire exactly those people whom you need for a specific project.
Overall, work with an outsourcing company is less stressful and more efficient than in-house development due to the high level of organization from the outsourcing company side. With outsourcing, you can fully delegate the development process to the team and just check on the progress and suggest any changes or improvements.
So where do you find a reliable outsourcing company? Here are a few ideas:
- Clutch
- Goodfirms
- Top App Creators
- Upwork
We highly recommend looking for a company on Clutch since it not only lists the best development companies but also provides clients’ testimonials and feedback.
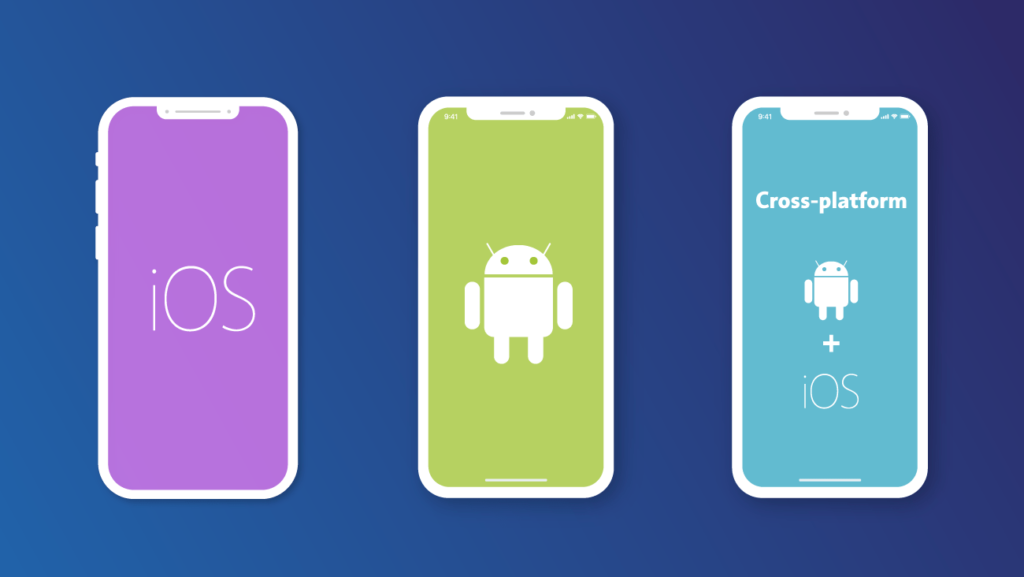
Step 3: Choose the app’s platform and type
Once you decide on the target audience and find a reliable partner to work with, it’s time to decide on the application platform and type.
Depending on your users’ demographics, you will need to choose between a native (iOS or Android) or a cross-platform application. Here are a few things to consider when comparing both options:
- Performance: native apps tend to have a slightly better performance than cross-platform applications.
- Design: native applications have a slightly better design and UX.
- Cost: cross-platform apps are more affordable than native.
- Time to market: cross-platform applications have a shorter time to market than native apps.
- Maintenance: cross-platform apps are easier in terms of maintenance and updates.
If we sum up, native applications are more costly and take more time to be developed but they will reward you with superior performance and UX. But if you need a broader reach and need to quickly launch an app, you can safely choose a cross-platform application since this option also delivers good performance and high usability.
Step 4: Collect the requirements and turn them into a specification
By now you should have decided on the app’s type that you are going to develop and on the company to which you will delegate the development process. What you need to do now is to collect all the requirements for the app and transform them into a project specification.
A dedicated business analyst (or a project manager) is usually the one responsible for this task. As well, a business analyst facilitates communication between the client and the development team and oversees any change requests from the client’s side.
At this stage, you might have a question: how can we assemble a project specification if I might want to add a few more features in the future? The thing is, a project specification is constantly being modified and is really flexible in terms of editing. Though a development team will need a specification to start working on a project, this specification does not have to contain all the possible app’s features – it will be enough to outline the essential ones only. And then, as the project continues, you will be able to add or eliminate the features on the go.
It is a generally good practice to list down the app’s core features and start working on them first. In this way, you will not get distracted by the extra add-ons and will be able to allocate the budget and resources more wisely.
Step 5: Start working on the design
From now on, the development process will be in the hands of the development team and will go in two parallel directions: work on the design and work on the backend and API.
In this section, we do not talk about design in terms of app icons and visual elements. What we mean here is the design of the information architecture and definition of user journeys as well as the creation of wireframes and prototypes.
The information architecture of a mobile application describes the logic of interaction between the app’s content and elements. It serves as a base to understand user journeys and possible ways of user navigation and hence, helps create a truly user-friendly interface. Another important design aspect is a sitemap which visualizes the structure of the app and displays the hierarchy of its components.
Once the UX designer creates structured information architecture and sitemap and lists down the possible user flows, they can start working on the wireframes and prototypes. A wireframe is a visual representation of a future app and can be either in a form of a simple sketch or a more advanced sketch in a digital form. Wireframing is necessary for understanding the way the app will look and function. After creating a wireframe, the next step will be prototyping which is a basic version of the app.
At this stage, a UX designer pays utter attention to the app’s usability and functionality. Since the primary goal of any mobile application is to bring value to end users, it is crucial to make its features visible and easily navigated. And this is the responsibility of the designer.
Another important aspect in terms of design is the icon of the application. Since it’s the first thing that the users will see about the app, it’s important to make it converting and attention-catching.
Step 6: Develop the backend and the API
In parallel with design, the development team will also work on developing the app’s API, backend, and database. But before doing so, the team should decide on the most suitable application architecture and the most efficient tech stack. This will serve as a base for future development and will help allocate the needed specialists and resources.
The team will then research the needed architectural style for the API design so the app connects to the backend seamlessly. As well, the backend engineers will take care of the app’s backend and server and will choose a suitable database.
Since the server and the database contain a large amount of sensitive data, it is essential to choose a secure solution that will safeguard the data from internal and external threats. At SoftTeco, for example, we often deploy the Amazon AWS cloud solution due to its convenience and security. The app’s security, in general, is a really important issue – you can read more about it in our previous blog post.
Step 7: Create an MVP
Though not being obligatory, this step is highly recommended. The creation of an MVP would allow you to test the product on actual users and receive useful feedback before the app is officially launched in the stores.
A minimum viable product is the next step after the prototype. It is a functioning piece of software that contains all the basic features that a user might need. And in addition to testing your idea with real users, the MVP also allows you to wisely allocate budget and resources and minimize the possibility of errors.
The biggest pitfall of the MVP creation is probably the temptation to add many features to it. We’ve written a guide on MVP creation where we discuss how to choose only the essential features to add and how to avoid the unnecessary ones. And once your MVP is completed and well-received by the target audience, you can start turning it into a full-fledged application with a variety of features and add-ons.

Step 8: Perform maintenance and updates
After the app is created and you are ready to launch it, there is still some work to take care of which is maintenance and updates.
Mobile app maintenance is a continuous process that is really important. The mobile OS is constantly updated, users may require new features, the app may grow bigger, and so on. All these issues demand for continuous app maintenance so you need to consider that when planning your budget.
App updates are critical as well. Not only do they fix current bugs and errors but also add security patches to the app and enhance its protection against threats.
Do not forget about testing!
A vital part of mobile app development is QA which stands for quality assurance. Ideally, testing should be continuous in order for the app to be tested during each development stage. In this way, developers can make sure that no bug went unnoticed and they can also quickly resolve any issue before moving on to the next stage.
Mobile testing involves numerous aspects such as:
- Usability
- Performance
- Security
- Functional testing
- Network connectivity
- Compatibility
All these testing types are aimed at checking whether the app functions as intended under any possible conditions and how well it performs in stress conditions such as connectivity loss, for example.
It is a must to test the application before launching it. Otherwise, even the smallest bug will significantly impact user experience and hence will have an effect on your revenue as well. Not to mention the fact that you will have to do double work on fixing the errors.
Best practices checklist
Building a mobile application is not easy – but knowing the steps described above, it becomes much clearer to know where to start and what points to pay attention to.
But in addition to these essential steps, there are also several best practices to follow when working on your mobile application. Make sure that your team knows and deploys them:
- Put user experience first: if it’s poor, the user will not be able to discover the full functionality of the application.
- Follow security best practices to safeguard the data that the app stores and processes.
- Optimize the app’s performance (use CDN, compress the code, etc.).
- Remember about mobile-first indexing and adjust the app correspondingly.
- Study the app store guidelines in advance and make sure to follow them.
- Do not ignore marketing and SEO in order to make your app as visible to the users as possible.
As from our personal experience, we also highly recommend paying attention to the scalability of your application. As the company grows, so will your app so it’s critical to make it ready for future growth and possible addition of brand-new features.
And if you are interested in the approximate time needed to develop an application, you can read this article. It describes the needed time for each development stage and explains what factors impact it.


Comments